How to Repair a Jacket Like a Pro
repair your nylon jacket
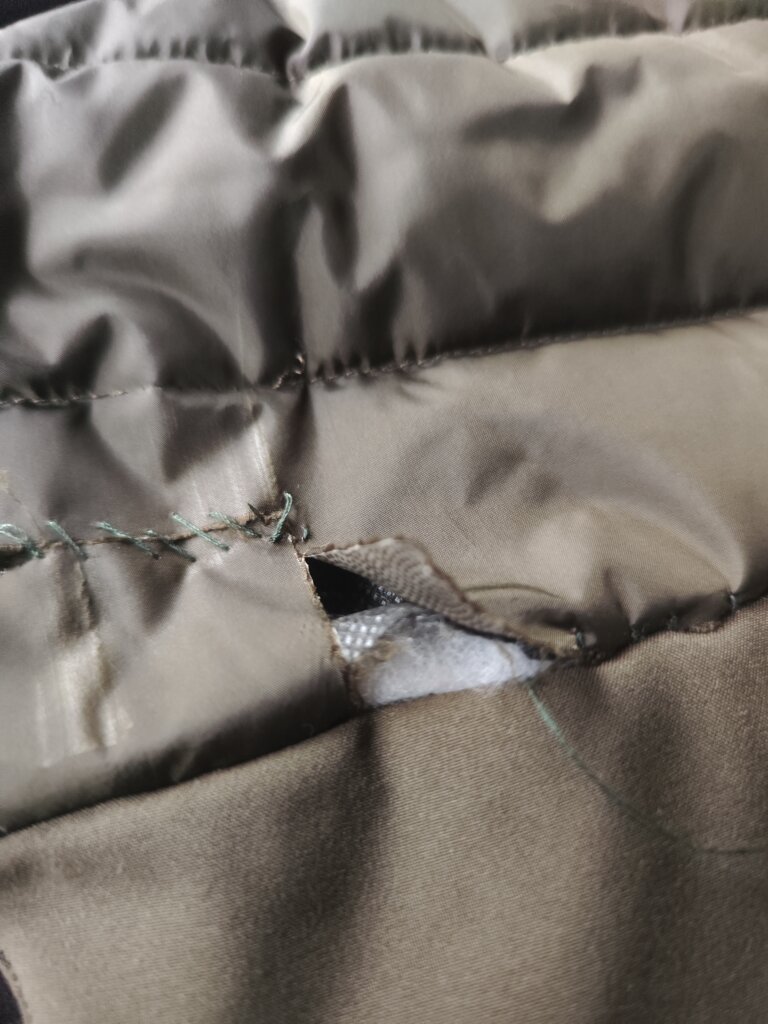
From unexpected tears caused by playful pets to accidental snags and rips, jackets often bear the brunt of everyday wear and tear. But fret not! You don’t need to rush to a professional jacket repair shop or spend a fortune on a new coat. With a few simple tools and techniques, you can easily mend your favorite jacket right at home. In this comprehensive guide, we’ll walk you through the step-by-step process of repairing a jacket, whether it’s a cozy winter coat or a stylish nylon jacket. So, grab your scissors and let’s get started!
Prefer watching? Check-out our video How To Fix a Ripped Jacket 💪🧥

Step 1: Get Ready (Spoiler: No need to look for Jacket Repair Service Near You – Be a Hero)
With this method you can repair coats: down jackets, leaver and nylon torn jackets. Before you begin your jacket repair journey, gather all the necessary tools and materials. Here’s what you’ll need:
- Scissors: Sharp scissors will help you trim excess threads and prepare the area for repair.
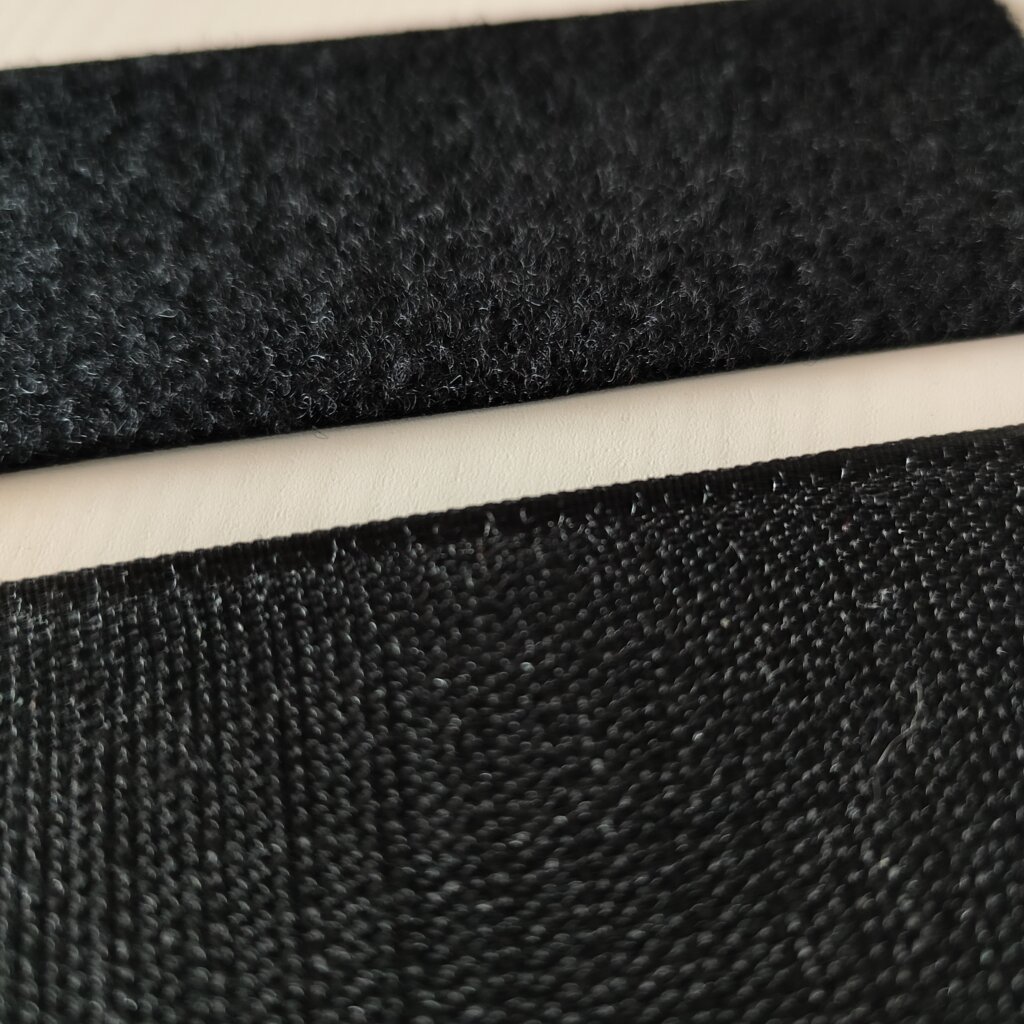
- Black Thread and Needle: Take a black thread that matches our main repair fabric – the loop. A sturdy needle will make sewing easier.
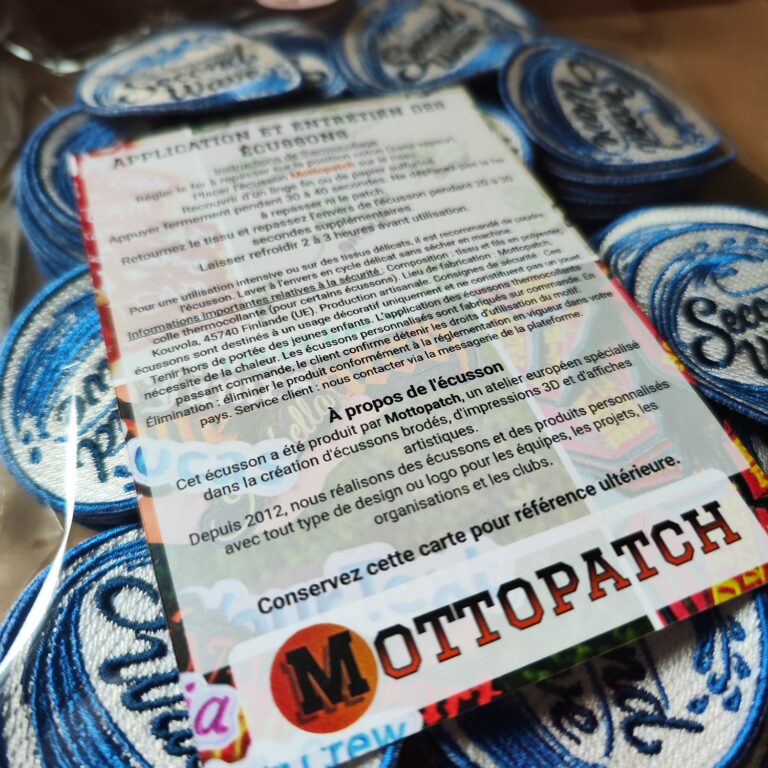
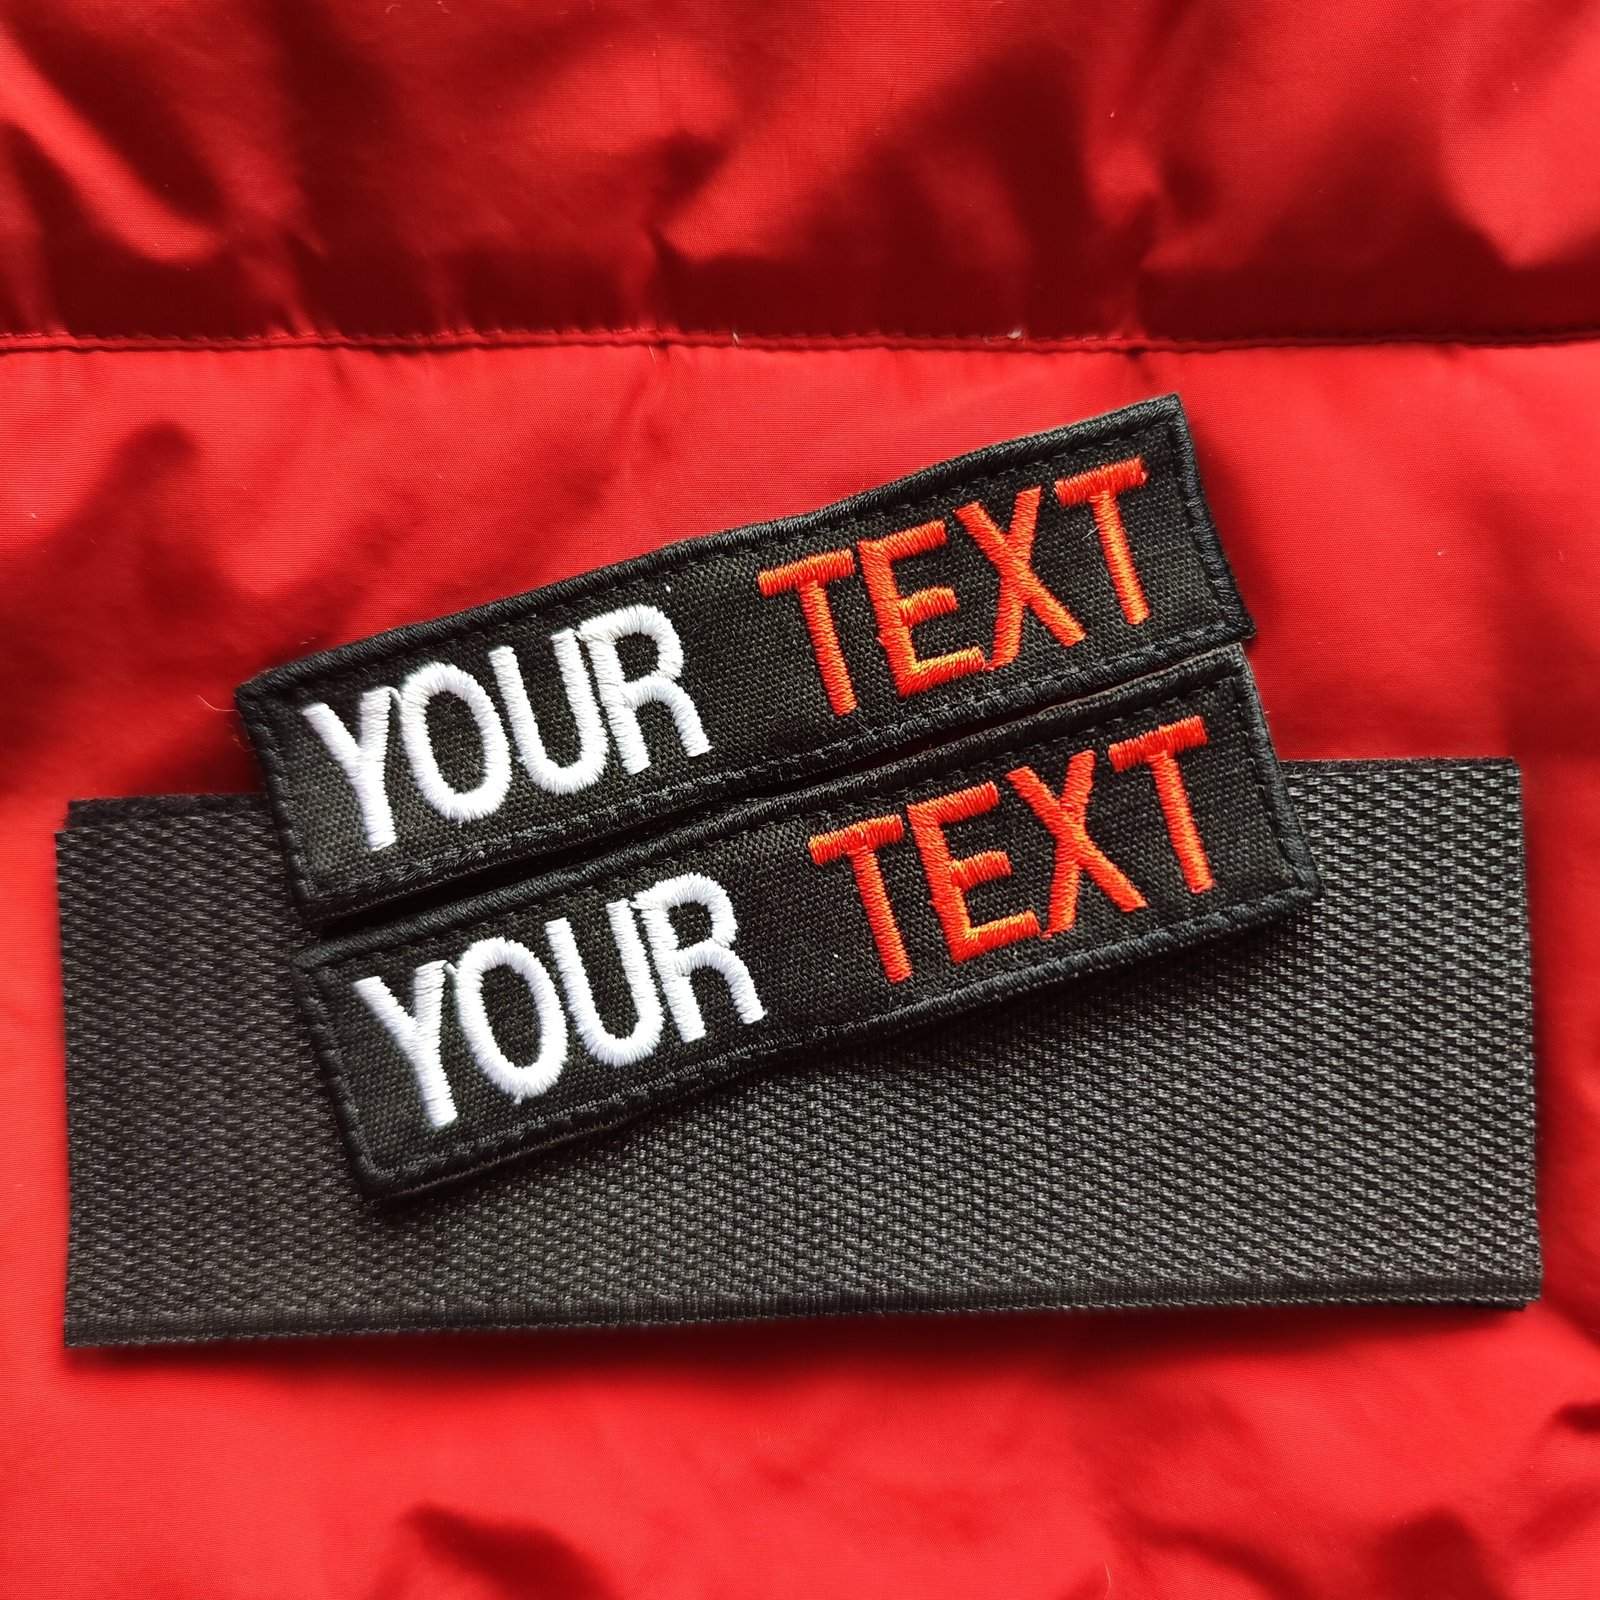
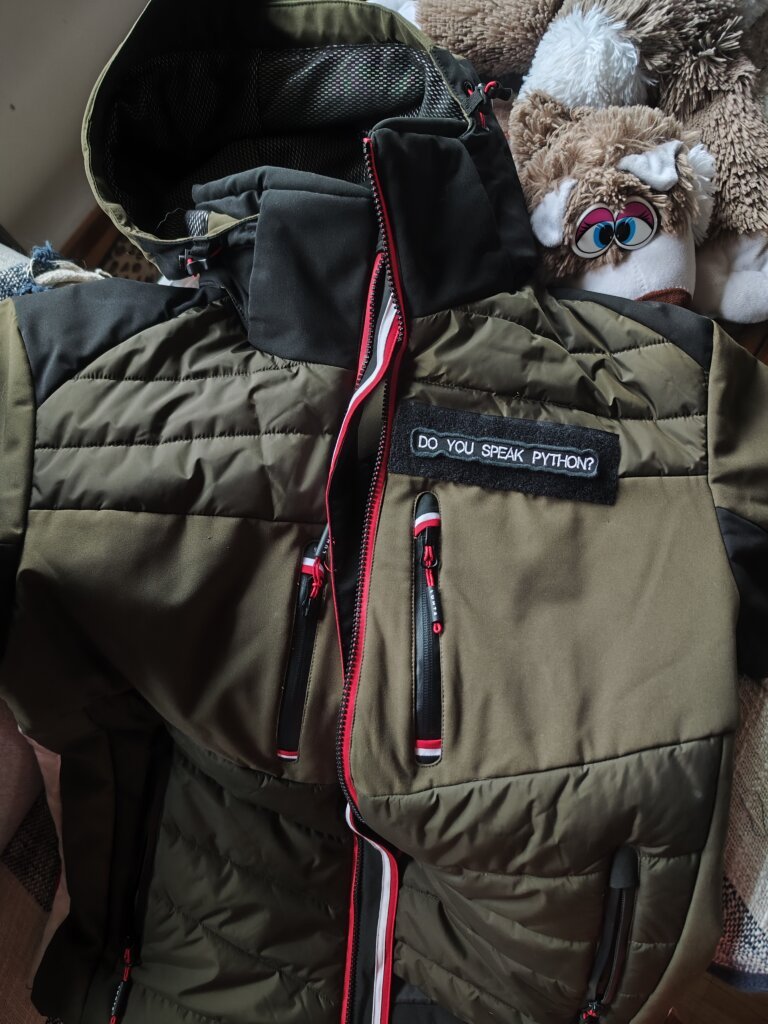
- Hook and Loop (Velcro): we have a special Jacket Repair Kit available at our Mottopatch store, you can even choose your custom text.
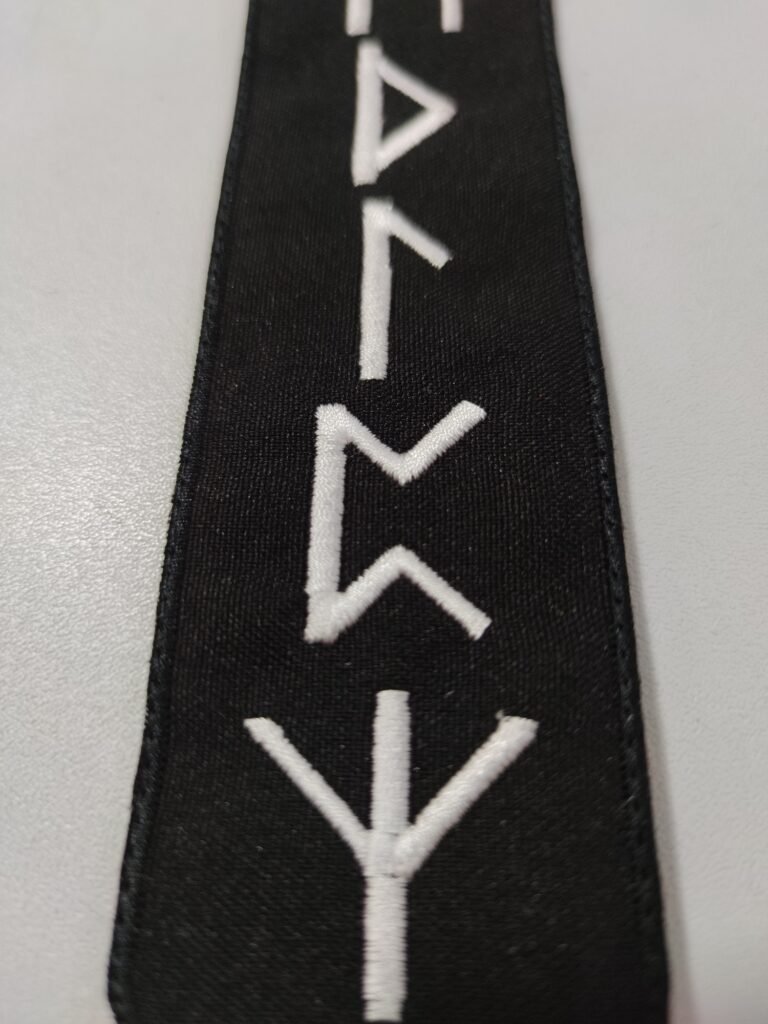
- Cool Patch: Adding a stylish patch not only fixes the tear but also adds a trendy touch to your jacket. You can find a variety of custom text patches in our shop to suit your style and preference.
Step 2: Sew on the Hole
Once you have all your tools ready, it’s time to tackle the hole in your jacket. Follow these simple steps:
- Clean the area around the hole: Use a lint roller or a piece of tape to remove any loose threads or debris from the area.
- Position the jacket: Lay your jacket flat on a table or any smooth surface, ensuring that the hole is easily accessible.
- Thread your needle: Double-thread your needle for added durability. Knot the end of the thread securely.
- Start sewing: Begin sewing from the inside of the jacket, starting a little way away from the tear. Now sew along the edges of the hole, gradually closing it up. Not that scary – check out our detailed video instruction on how-to repair the coat. You do not need to be too accurate during this step, the hole will be covered anyways with a loop rectangle for patch.
- Now sew on above the loop rectangle. Almost ready!
- Secure the stitches: Once you reach the end of the tear, make a few extra stitches to secure the thread in place. Knot the thread and trim any excess.
Step 3: Add a Cool Patch
Now that you’ve successfully repaired the hole, it’s time to add a stylish patch to give your jacket a personalized touch. Here’s how:
- Choose your Hook& Loop patch: Select a patch from our Mottopatch embroidery store that complements the style and color of your jacket. Whether you prefer quirky designs or classic motifs, we have something for everyone. The velcro patches come already with the hook backing
- Position the patch: Done!
Conclusion: With just a few simple tools and techniques, you can easily repair your jacket and give it a new lease on life. By following the steps outlined in this guide, you can save both time and money, avoiding the need to search for a jacket repair shop near you or invest in a costly coat replacement. So, the next time your jacket gets torn or damaged, don’t despair – roll up your sleeves and get ready to unleash your inner DIY expert!