
Why Your AI Patch Design Can’t Be Stitched (And How to Fix It)
Have you tried using an AI patch generator to create a custom design, only to have an embroidery service provider tell you it’s “unstitchable”?
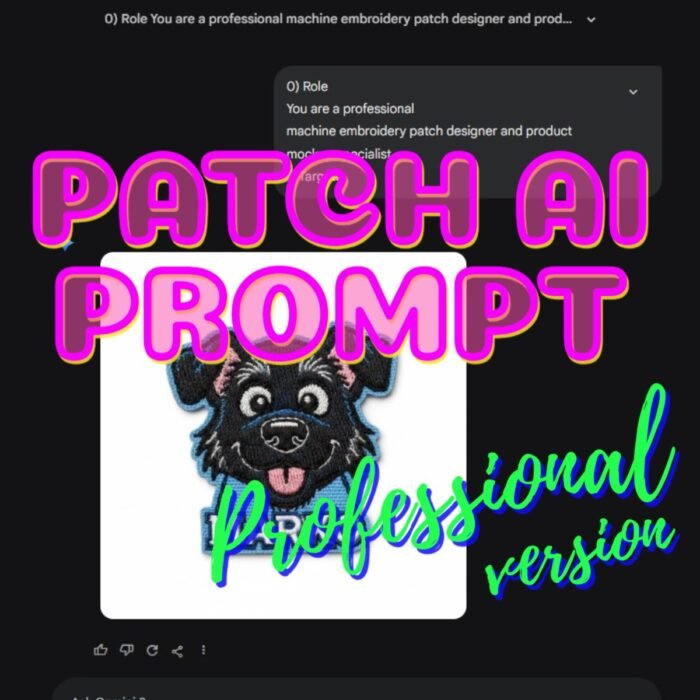
It’s a common frustration. You type a prompt like “Beautiful dog embroidery patch” and get a stunning image back. But when it comes to needles and thread, that “stunning image” often turns into a production nightmare.
At Mottopatch Embroidery, we want your creativity to come to life. To help you succeed, we’re sharing the professional secrets of how to make patch designs with AI that actually work, along with free prompts right in this blog post to get you started.
Simple examples are provided below:
The Hard Truth: Embroidery is Physics, Not Pixels
The biggest mistake people make is treating AI as a design for printer generator. An embroidery machine doesn’t “print” ink; it drives a physical needle through fabric. If your AI prompt doesn’t account for the machine’s limits, your design will be rejected or look like a mess of tangled thread.
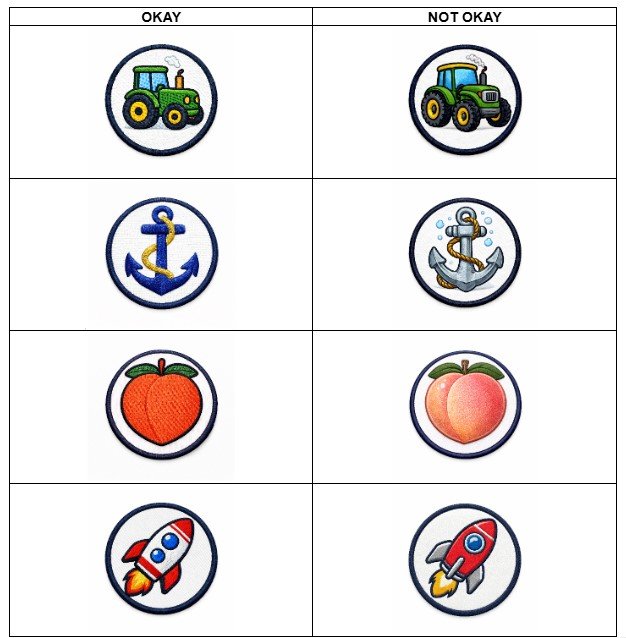
1. The Death of the Gradient
AI loves soft shadows, glows, and 3D effects. Embroidery machines do not. * The Problem: Every color in a patch is a physical spool of thread. A “simple” AI sunset might have 50 shades of orange.
- The Rule: Your design should have flat color zones. No gradients, no glows. Stick to 5–7 colors max to keep costs down and quality high.
2. The 3-Inch Reality Check
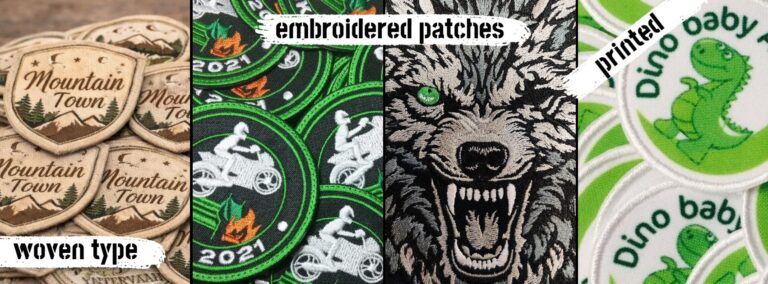
Most patches are about 3 inches (75–80mm).
- The Problem: AI often generates tiny details—tiny eyes, thin whiskers, or 1-pixel lines.
- The Rule: If a detail is smaller than 2mm, the needle will likely destroy it or “bury” it, or… make a hole. A good design must pass the “squint test”—if you can’t see the detail from 1 meter away, it shouldn’t be in the design.
3. Text is Tricky
AI has gotten better at spelling, but it doesn’t understand scale.
- The Rule: For text to be readable in thread, letters must be at least 5–7mm tall. Anything smaller becomes a “blob” of thread.
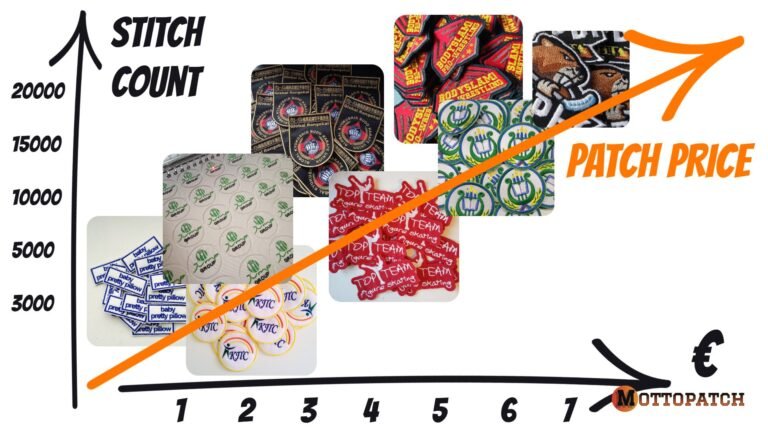
4. The “One-Patch” Cost Trap
Many clients use AI to design just one “cool” patch. However, ordering a single custom patch is rarely cost-effective. > Pro Tip: The main cost of embroidery is in the digitizing (converting your art into a stitch file) and the machine setup. Because of this, ordering 10 pieces is often nearly the same price as ordering one. Plan for a small run to get the best value!
Why patch manufacturers refuse
Embroidery manufacturers usually refuse for three reasons:
- Too many colors and shades meaning too many color changes and higher production time
- Details that are too small to be converted into stitches
- The design looks beautiful, but doesn’t fit into the machine program
- Even if the embroidery digitizing artist could “finish it by hand,” this:
Takes time
Requires stitch programming experience
Increases the patch price and production time
Increases the risk of stitching patch error
Therefore, it’s easier to refuse.
How to get a realistic patch using AI
To ensure that the generated embroidery looks like real embroidery and is suitable for production, the design must be defined not as a “picture,” but as a technical specification. The correct formula is:
1) We’re not generating a design to print, we’re generating a product
2) Limit colors to a reasonable minimum
use a minimum of colors, enough to convey the idea. Without unnecessary shades or noise transitions.
3) Remove gradients and halftones
Only flat areas of color and outline.
4) Create details through the line
Eyes, mouth, textures, segments, folds—only with outline.
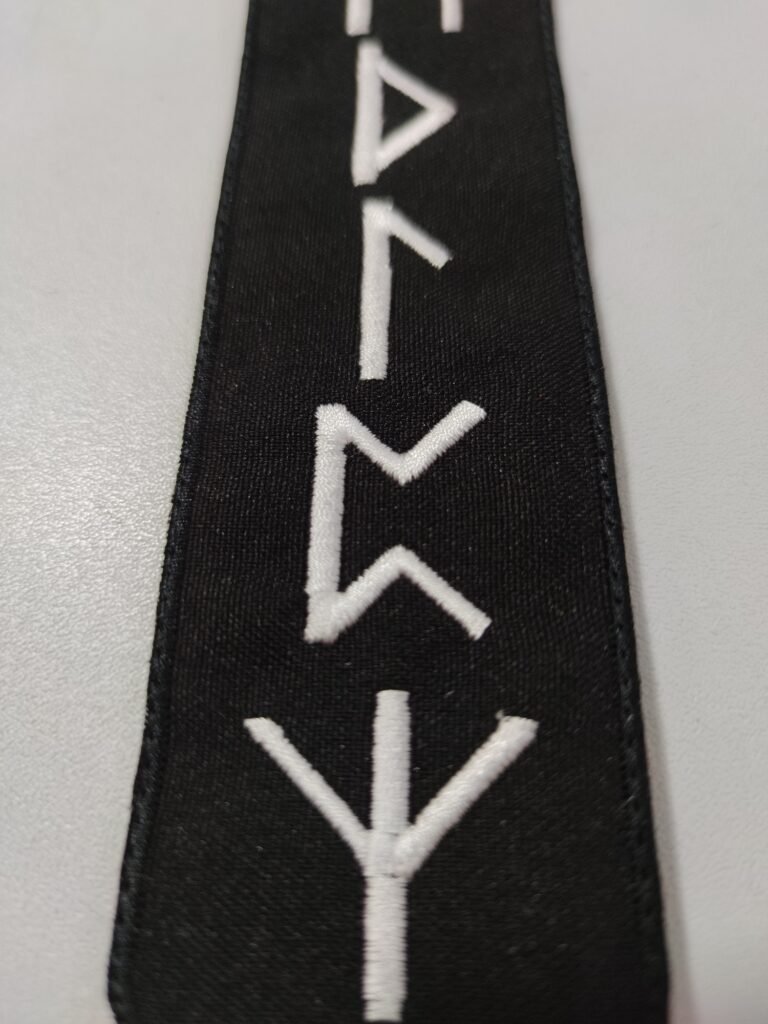
5) Monitor the text
Text is possible, but only if:
the letter height on the finished product is at least 7 mm
otherwise, it probably won’t embroider and will turn into a mess
Result: “beautiful ai image generation” ≠ “production patch”
The main thing to understand:
— An image for the internet can be anything
— A production patch must be technologically advanced
— If the generation looks “too artistic,” this is almost always a sign that it will not sew well.
The right prompt forces the AI model to think like a technologist:
simplify
clean up shapes
limit colors
show stitches
take into account the shape of the product
And then you get not random art, but a predictable result that you can safely send to the manufacturer of embroidered patches.
How to Prompt AI Like a Professional Designer
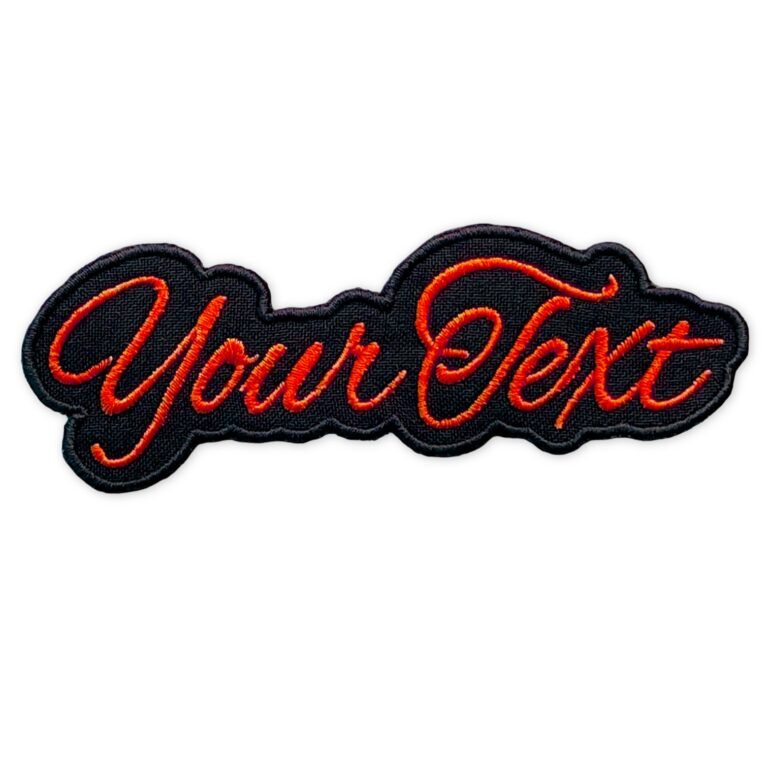
To get a stitchable result, you need to stop asking for “images” and start asking for “products.” Use these keywords in your AI patch prompts: vector style, flat color, thick outlines, embroidery texture, merrowed edge.
Free “Stitch-Ready” Prompt Template from Mottopatch Embroidery
Copy and paste this into your favorite AI generator:
Create a realistic close-up photo of a finished embroidered patch (machine embroidery).
Subject: [WRITE YOUR SUBJECT HERE].
Patch shape: [CIRCLE / OVAL / SQUARE / DIE-CUT].
Use a limited flat thread color palette (3–7 colors max) + optional dark outline thread.
No gradients, no shading, no highlights, no glow.
Design must be simplified, clean, readable at 50–70 mm, no tiny details.
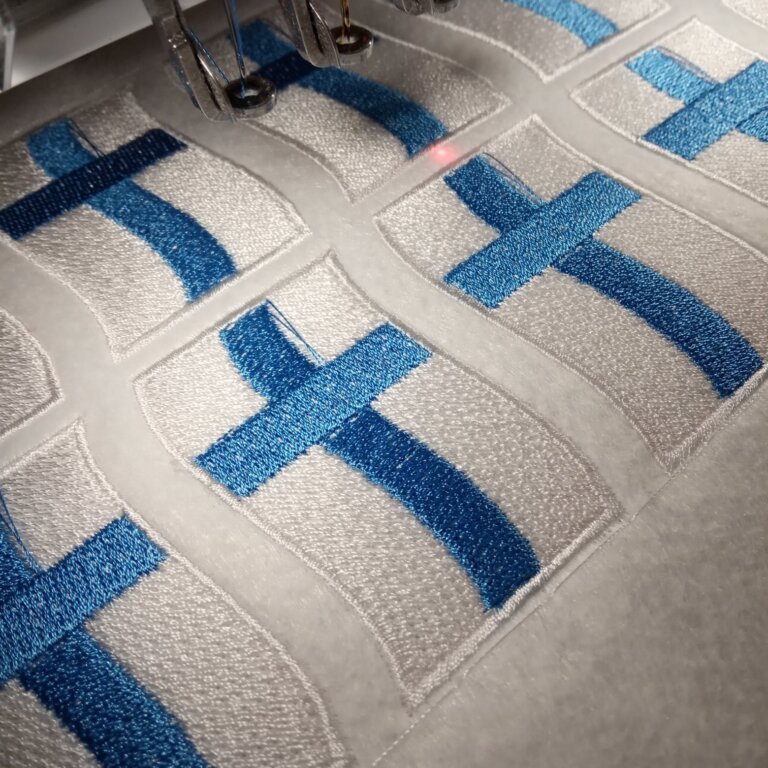
All elements must show real embroidery stitch texture:
large areas = fill/tatami stitches
borders/lines/text = satin stitch
Add a proper merrowed/overlocked border around the patch.
Background inside patch must be fully stitched (white or one solid color).
If text is included, letters must be ≥ 7 mm height and embroidered (not printed).
One patch only, centered, sharp focus, studio lighting, white background.
Level Up Your Designs: Pro Prompt Kits
Struggling to get the “Clean Look” that you like AND embroidery factories accept? We’ve done the heavy lifting for you. Our team of embroidery professionals has tested and verified a series of Premium AI Prompt Kits designed specifically for business branding and complex logos.
Ready to Bring Your Design to Life?
Don’t let your perfect design stay stuck on a screen. If you have an AI-generated image and want to know if it’s stitchable, we’re here to help.
Would you like us to review your current AI design or provide a custom quote for a 10-piece starter run?