
How to Create a Stylish Punk or Grunge Look with DIY Patches
Hey there, fellow fashion rebels! One of the coolest and easiest ways to add some edge to your wardrobe is by making your own DIY patches. In this blog post, I’m going to show you how to create stylish grunge or punk patches using simple black fabric, sewn on with contrast thread to give that handmade, authentic look. Let’s dive into it!
If you’re a fan of the punk or grunge style, you know that it’s all about expressing individuality and rebellion through your clothes.
Why DIY Patches?
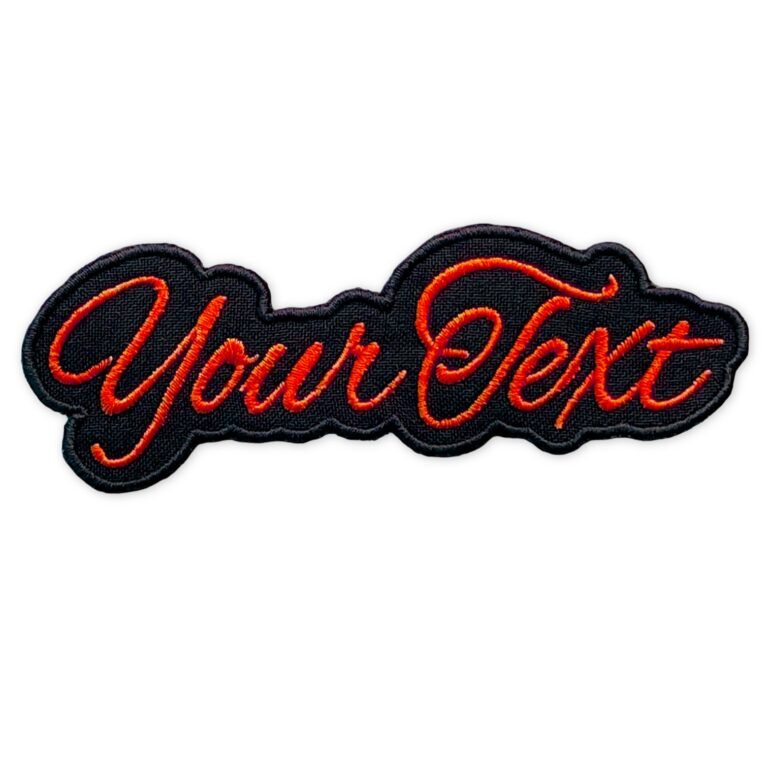
DIY patches are not only a fun and creative way to personalize your clothes, but they also save you money and allow you to recycle old fabrics. Plus, nothing screams punk rock more than a homemade patch that shows off your unique style. Whether you’re patching up a denim jacket, a pair of jeans, or a backpack, these patches are sure to make a statement. You can also get a ready to go or customized for you text patch at a punk patches store, but creatively attach it to your clothes with a contrast stitch.
What You’ll Need to Make a DIY Patch
Before we get started, let’s gather all the materials you’ll need:
- Fabric for Patches: Simple black fabric works great. Cotton or polyester, but not too stretchy
- Needle and Thread: Use a contrast thread color (like white, red, or neon) for that hand-stitched look.
- Scissors: For cutting the fabric and threads.
- Fabric Glue (Optional): To secure the patch before sewing, needles are also fine
- Embroidery Hoop (Optional): Helps to keep the fabric taut while sewing, but table is just fine also
- Markers, Thread or Fabric Paint: For adding designs to your patches.
- Iron and Ironing Board (Optional): To press the patches flat.
- Matches (Optional): To prevent fraying edges.
Step-by-Step Guide to Making DIY Patches
Step 1: Choose Your Design
Start by deciding what you want your patch to look like. Popular punk and grunge designs include band logos, anarchist symbols, skulls, and witty phrases. You can sketch your design on paper first or jump straight to fabric if you’re feeling confident.
Step 2: Cut Your Fabric
Cut your burlap or black fabric into the desired shape and size. Patches can be any shape, but squares, rectangles, and circles are the most common. Use pinking shears if you have them to give the edges a zigzag pattern, which helps prevent fraying.
Step 3: Draw, Stitch or Paint Your Design
Using markers or fabric paint, draw your chosen design onto the fabric, you can also stitch it with basic white thread. If you’re not confident in your freehand skills, you can print out your design, place it under the fabric, and trace it. Allow the paint to dry completely before moving on to the next step.
Step 4: Secure the Patch before Attaching
Use a small amount of glue to secure it to your garment. Press down firmly and let it dry for a few minutes. Or use couple of needles, see below.

Another option to keep the patch not shifting while sewing is to use couple of needles.
Step 5: Sew On the Patch
Thread your needle with the contrast thread and start sewing around the edges of the patch. A simple running stitch or whip stitch works great for this. The goal is to make the stitches visible and slightly irregular, giving it that raw, handmade feel. Don’t worry about making it perfect; the imperfections add to the punk aesthetic.

Step 6: Add More Details (Optional)
If you want to add more flair, consider sewing around the edges multiple times or adding some extra stitches in a different color. You can also add small metal studs (oh yeah!) or spikes if you’re feeling adventurous.
Styling Your Patches
Here are a few ideas on how to incorporate them into your wardrobe:
- Denim Jackets: Classic and versatile, a denim jacket covered in patches is a staple of punk grunge fashion. Mix and match different designs and colors for a truly unique look.
- Jeans and Shorts: Add patches to your favorite pair of jeans or shorts. Place them on the knees, back pockets, or along the sides for a cool, distressed look.
- Backpacks and Bags: Customize your backpack or messenger bag with patches to make it stand out. This is also a great way to cover up any wear and tear.
- Hats and Beanies: Sew small patches onto hats or beanies for a subtle yet stylish touch.
- T-Shirts and Hoodies: Add patches to your t-shirts or hoodies to give them new life. Place them on the sleeves, chest, or back for maximum impact.

Tips for a Perfect Punk or Grunge Look
- Layering: Grunge is all about layers. Pair your patched-up jacket with a band tee, flannel shirt, and ripped jeans for a complete look.
- Distressing: Embrace the worn-out look. Frayed edges, holes, and faded fabric all add to the aesthetic.
- Mix Textures: Combine different fabrics like denim, leather, and flannel to create a rich, textured look.
- Accessorize: Finish off your outfit with accessories like studded belts, chokers, and combat boots.
- DIY More: Don’t stop at patches! Customize your clothes with safety pins, bleach, and paint for even more unique pieces.

Caring for Your DIY Patches
To keep your patches looking fresh, follow these care tips:
- Hand Wash: If possible, hand wash your patched items to avoid damaging the stitches.
- Gentle Cycle: If you must use a washing machine, opt for the gentle cycle and wash in cold water.
- Air Dry: Avoid using a dryer as the heat can weaken the fabric and thread. Air dry your items instead.
- Reinforce as Needed: Over time, some stitches might come loose. Simply reinforce them with a needle and thread to keep your patches secure.
Final Thoughts
Creating your own DIY patches is a fun and rewarding way to express your punk or grunge style. With just a few materials and some creativity, you can transform your wardrobe into a reflection of your rebellious spirit. So grab some fabric, thread, and paint, and start crafting your unique patches today. Or order a customized text patch with your design from us.
Remember, the punk grunge look is all about individuality, so don’t be afraid to experiment and make it your own. Happy crafting!!
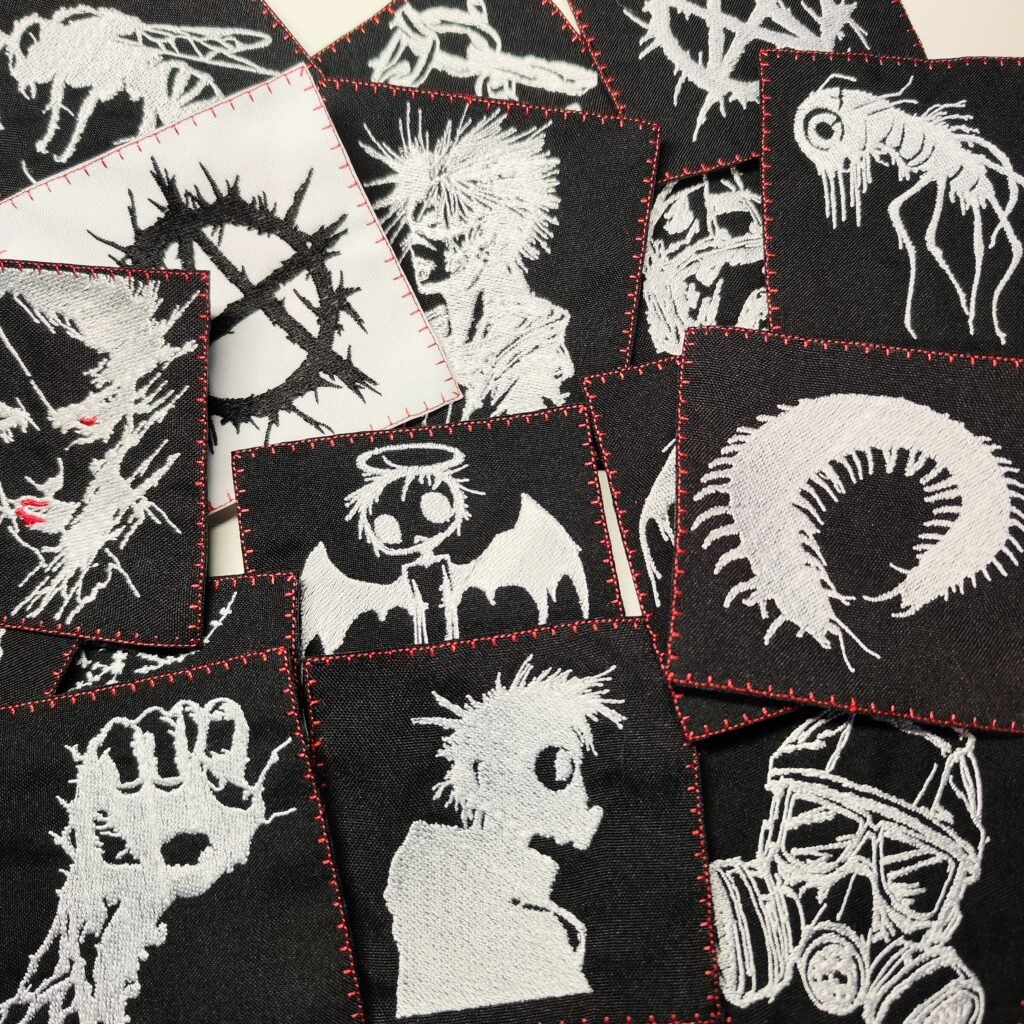
DIY vs Professional Patches
Punk and grunge were never about perfection — they were about expression.
Hand-cut fabric, rough stitches, painted slogans… DIY patches carry that raw, personal energy. They tell a story of late nights, safety pins, and making something from nothing. No two are ever the same — and that’s exactly the point.
But there’s a quiet difference between expression and execution.
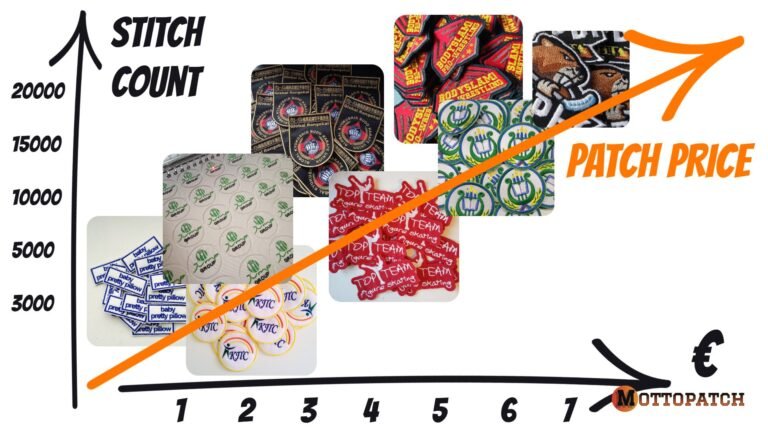
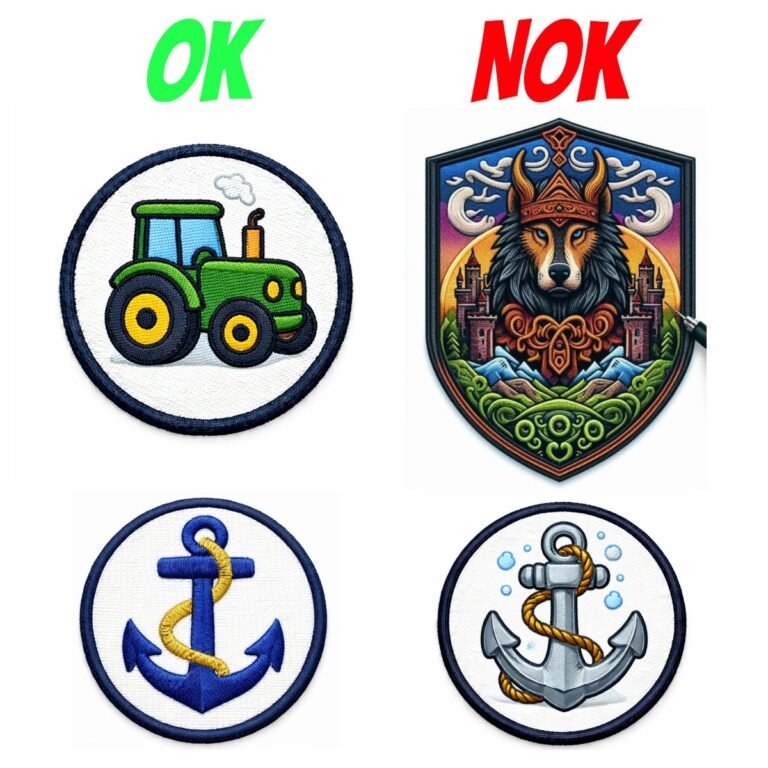
When a design starts representing more than just a mood — a band, a collective, a small brand, a skate crew — consistency begins to matter. Edges that don’t fray after a few washes. Lines that stay readable on stage lights. Colors that don’t shift from piece to piece.
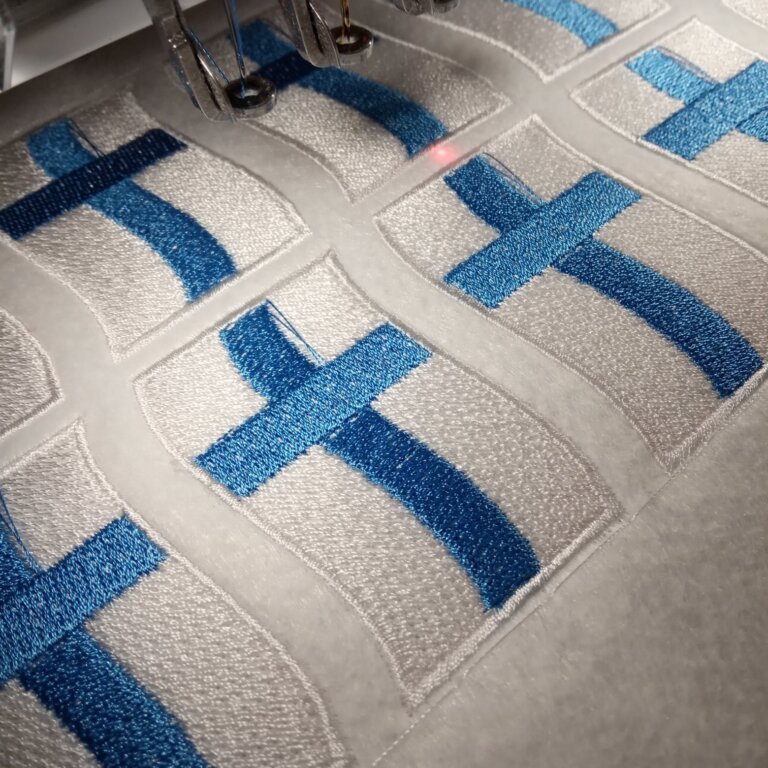
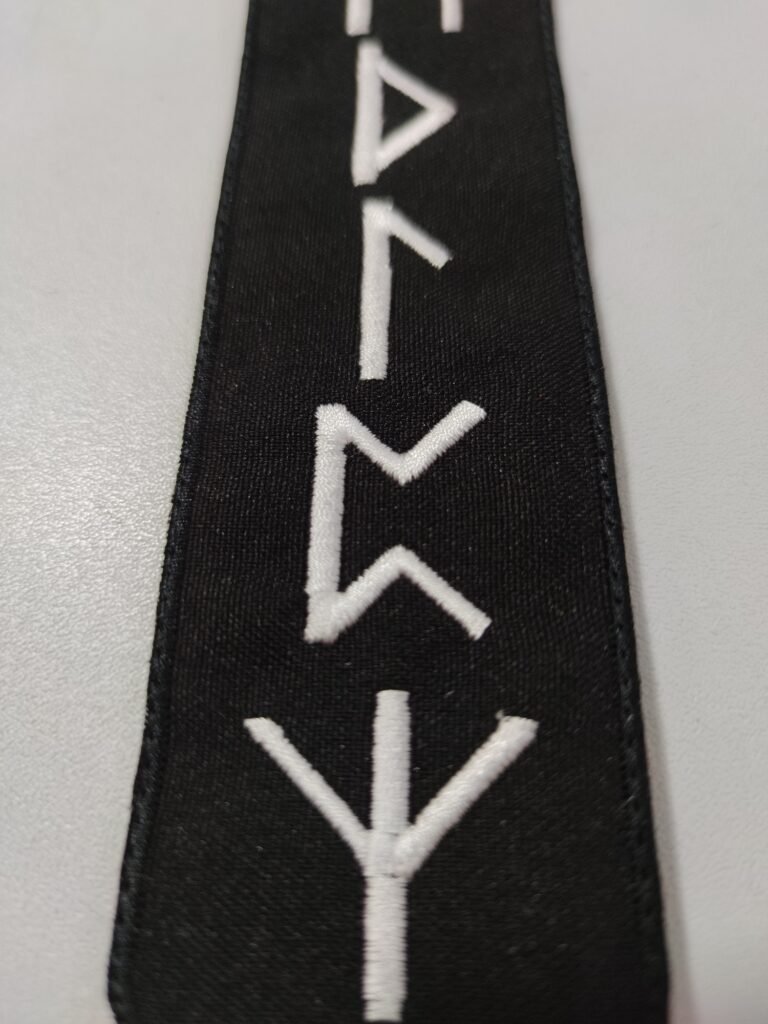
Professional embroidery doesn’t replace DIY spirit.
It preserves it — and makes it wearable long-term.
Many punk and grunge communities move naturally between both worlds:
DIY for experimentation.
Professional for identity.
One captures the moment.
The other carries it forward.
Want professionally made patches instead? See our offers: